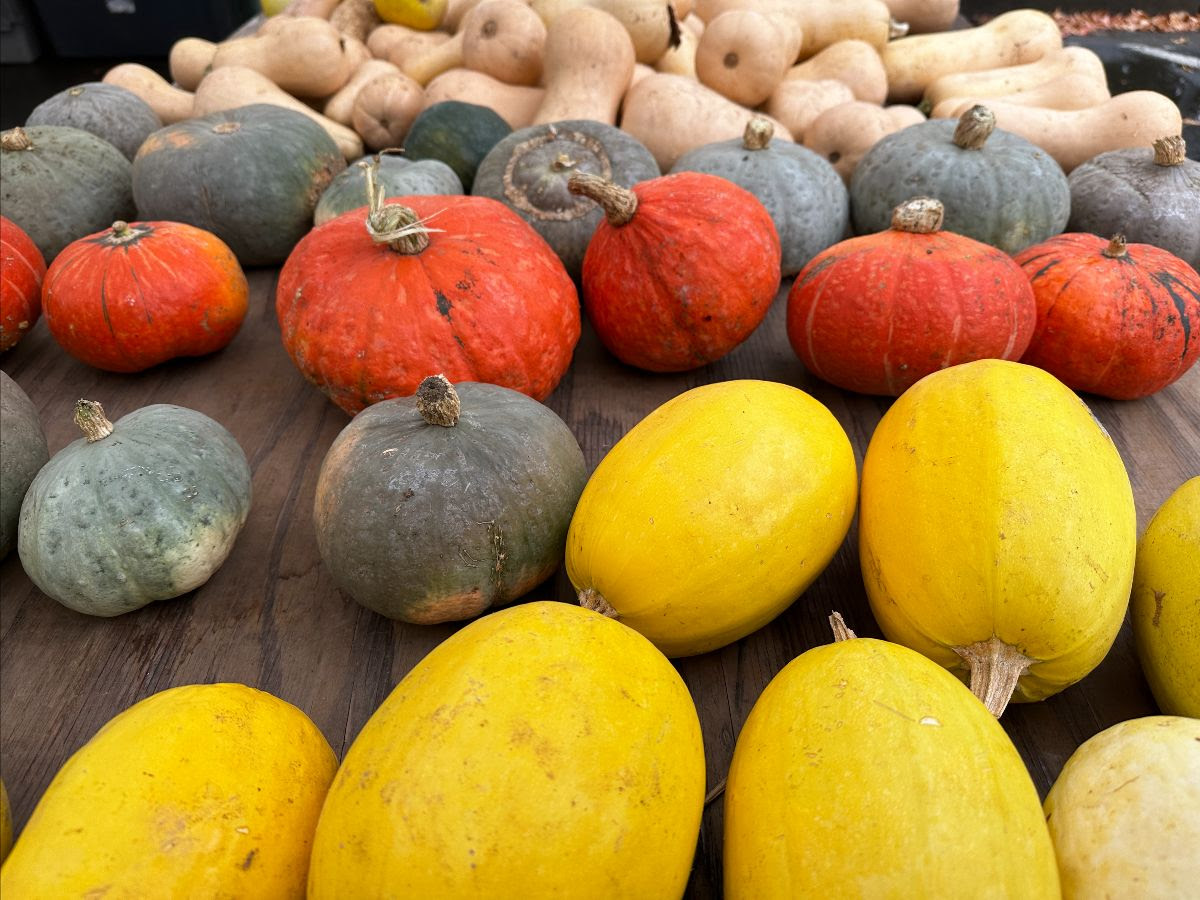
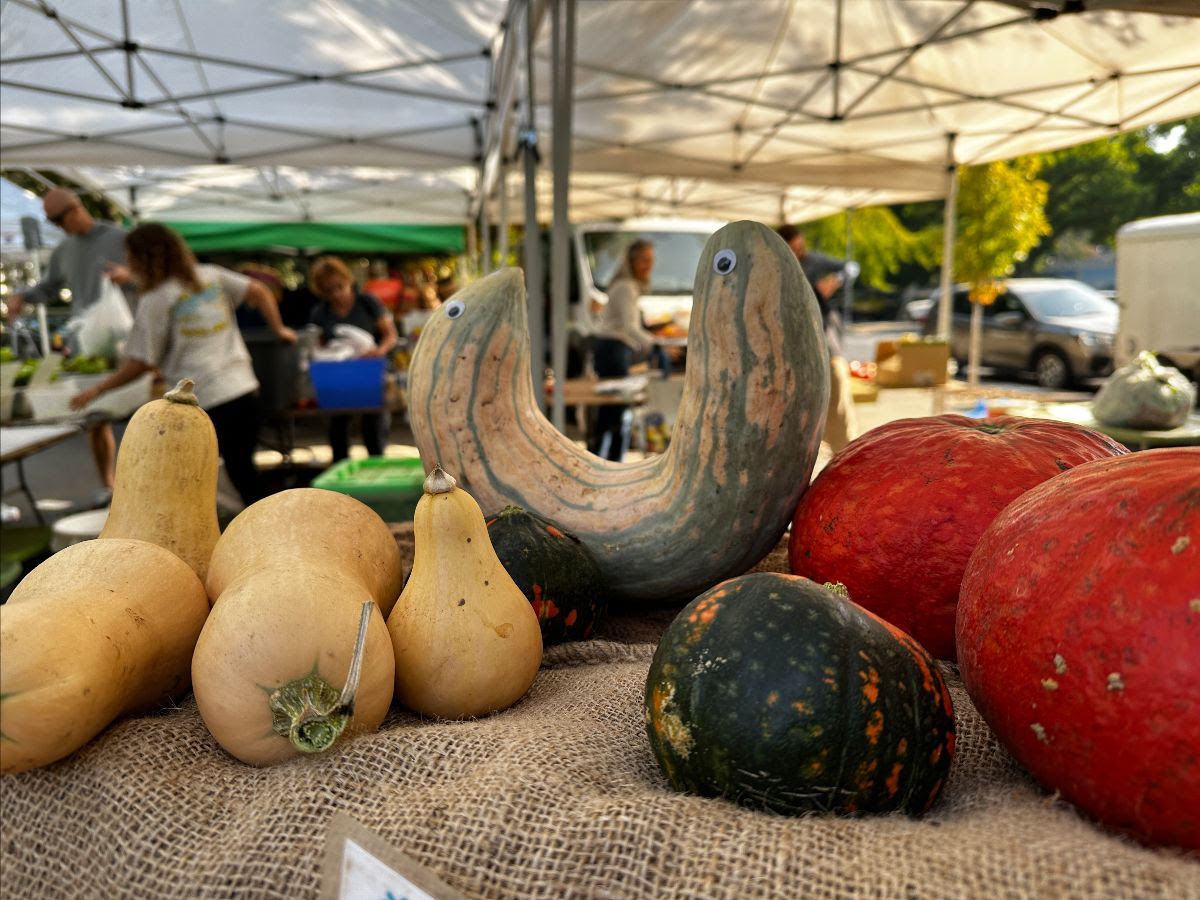
If you’ve been to market lately you’ve probably noticed that there’s squash everywhere – summer and winter, big ones, small ones, green ones, yellow ones, orange ones, stripey ones, spotted ones, and everything in between. Our summer squash, like zucchini and yellow squash, are on their way out, but winter squash are here for the season. Most people are only familiar with a few varieties of winter squash, such as spaghetti, butternut, and pumpkin. These are all wonderful, but there are still so many more varieties to try, like kabocha, acorn, red kuri, carnival, and delicata. All of them have a unique look and flavor worth exploring.
Summer Vs. Winter Squash
What’s the difference between a summer and a winter squash? Summer squash are softer-skinned, more tender, and have more moisture content overall, making them excellent candidates for the grill. Winter squash, on the other hand, have a thick and tough exterior, with hardier flesh, making them excellent for storing through the long winter months. They also make excellent roasts and soups!
Squash Vs. Gourds
Not all winter squash are grown for eating though. Ever heard of a gourd before? Gourds are “decorative” varieties of squash, that have incredibly hard outer shells, and very little edible meat inside. To quote Melissa Locker at Southern Living, “Not all gourds are squash, but many squashes are gourds and a pumpkin is both a squash and a gourd”. Essentially, while squash are grown for eating, gourds are grown with other purposes in mind. Gourds are designed to be used solely as a decoration, and when dried properly can be kept for years. In a dried state the skin of a gourd is hard as wood, which makes them excellent for building birdhouses and the like. To dry your own gourds at home, follow this simple seven-step process by Master Class:
- Wash the gourd in warm soapy water. Let the gourd air dry and remove any trace of moisture and bacteria with rubbing alcohol or distilled vinegar.
- Dry the outside of the gourd. Place the gourd in a well-ventilated area so the veneer can dry out. Exposure to moisture may cause the gourd to rot. The drying process will take about a week, and the colors on the rind will change slightly.
- Dry out the inside of the gourd. Next, you need to cure the gourd, or dry its interior, which can take up to six months. Move the gourd to a dark, dry place such as a garage or a basement. Put the gourd in an area that gets plenty of airflow in all directions. You can hang the gourd or place it on a surface, such as a drying rack or pallet. If drying multiple gourds, make sure the gourds do not touch.
- Turn the gourd every few weeks. If you are drying a gourd on a surface, rotate it every couple of weeks so that it dries evenly. If a gourd starts to decay or become soft, discard it.
- Assess the curing process. A fully cured gourd has hard outer skin. The seeds will rattle on the inside when shaken, and the gourd will feel light.
- Clean the cured gourd. Wipe down the gourd with a mix of a bleach solution of one parts bleach to nine parts water to remove any surface mold.
- Paint or decorate the cured gourd. When the drying process is complete, you can paint the gourd and turn it into a decorative fall display, a DIY birdhouse, or even a ladle.

Nutrition
Winter squash aren’t just pretty to look at – they’re pretty great for you nutritionally as well! Every squash type delivers a slightly different nutrient profile, but overall, eating squash will increase your intake of vitamins A and C, antioxidants, fiber, and potassium. Despite being rather dense and filling, winter squash are also relatively low in calories, ranging from 40-100 calories per cup cubed. That’s not all! If you want to really reap the rewards from winter squash, save the seeds for roasting. The seeds are high in protein and fiber, and are rich in vitamins A, C, and E, as well as minerals like folate, potassium, calcium, and iron. They are also a great source of healthy fats!
Cooking With Winter Squash
There are several ways to cook a winter squash. Baked, roasted, simmered, braised, steamed, cooked into pies, cakes, and breads, or blended into soups. The most popular of these is roasting, which is incredibly easy. Just follow these steps:
- Preheat your oven to 400°F.
- Wash and dry the outside of the squash, then cut it in half. (Be careful! Winter squash can be difficult to cut, so be extra cautious with your knife).
- Scrape out the seeds and set aside (you can roast these afterward).
- Brush the fleshy part of the squash with olive oil. Line a baking sheet with parchment paper, and lay the squash flesh side down.
- Bake for 45 minutes to 1 hour. (Test with a knife every 5 minutes after the 45-minute mark. You should be able to easily insert and remove the knife).
- Remove from the oven and allow to cool. Remove skin if desired, and then use as desired (cube and serve as a side, mash and serve like mashed potatoes, or puree into soup).
To roast the leftover seeds, follow these steps:
- Preheat your oven to 325°F.
- Separate your seeds from the pulp by rinsing them in a fine colander. Dry seeds thoroughly before use.
- Place the seeds in a small to medium-sized bowl. Add 1.5 tsp olive oil per 1/2 cup seeds, and season with salt and any other spice you’d like. Experiment with flavor! It’s fun!
- Spread the seeds out on a parchment-lined baking sheet in a single layer.
- Roast for 20-25 minutes, tossing/stirring the seeds every 10 minutes, until starting to brown lightly at the edges.
- Once the seeds reach a very light golden brown color, remove them from the oven and allow to cool. As they cool they will become crunchier. Once cool enough to handle, enjoy! Feel free to add more seasoning at this point if needed.

If you’re ready to take your winter squash cooking to the next level, try my own personal recipes for carrot and pumpkin soup, and maple-roasted pumpkin seeds!
Carrot and Pumpkin Soup
Ingredients:
- 1 large sugar pie pumpkin
- 3 large carrots
- 2-3 cups chicken or vegetable broth
- Isern & Sons olive oil
- 4 tbsp. salted butter (regular or vegan)
- Sea salt
- Pepper
- 3 tbsp Smoked Paprika
- 1 pomegranate (optional garnish)
Instructions:
- Preheat your oven to 450ºF.
- Cut your pumpkin in half and scoop out the seeds (set seeds aside if you want to roast them later).
- Brush the flesh side of the pumpkin with olive oil, and place the flesh side down in a large roasting pan.
- Wash and shave the carrots, chop them into 2-inch chunks, and add to the roasting pan.
- Drizzle everything with olive oil, cover with tin foil, and roast for 50 minutes.
- Optional: De-seed a pomegranate while you wait. The seeds make for an excellent garnish and add a sweet pop of flavor.
- Once your pumpkin is cool enough, use a spoon to scrape out the meat and put it along with the carrots in a food processor or blender (I use a Vitamix for reference).
- Add your vegetable broth, butter, and smoked paprika to the blender and blend till smooth. Add salt and pepper to taste, then serve. Garnish with pomegranate seeds and/or with maple-roasted pumpkin seeds (see recipe below).
Maple-Roasted Pumpkin Seeds
*If using fresh seeds
Ingredients:
- Pumpkin seeds straight from the pumpkin (I make these after making my pumpkin soup)
- 1 tbsp maple syrup
- Maldon sea salt flakes
Instructions:
- If you are using fresh seeds, you’ll need to rinse them and let them dry completely before roasting. When spread out on paper towels, this should take about an hour.
- Preheat your oven to 350ºF.
- Place the dry pumpkin seeds into a bowl with the maple syrup, and a generous sprinkle of sea salt flakes. Toss well with a fork.
- Line a baking sheet with baking paper, and spread the pumpkin seeds evenly across it.
- Roast in the oven for around 15 minutes, shaking the pan to toss the seeds every 5 minutes.
- Allow to cool, then enjoy!
